DIY Book Stack Christmas Ornament
Every year, my husband and I get our children Christmas ornaments. Our goal is to somehow capture the year in an ornament so that over time we have a nice stack of memories when we decorate the tree. Sometimes this is really easy, like last year when we went to Willamsburg and let our children pick out their own ornaments from a store called “Christmas Mouse.”
This year, I wanted to make our children’s ornaments, but I had a hard time deciding what that would look like. It was only a few days before Christmas when I finally made them. Sometimes it seems that deadlines are incredible creativity boosters. Do you agree?
Ultimately, I chose to make these:

****************************
For the footie pajamas, I cut two pieces of felt and glued them together with felt glue so that it would be double-sided. I put the ornament hook inside so that it would be secure enough to hang on the tree.
For the beaded heart ornament, I cut a length of jewelry wire and formed it into a heart, then strung pony beads onto the wire. I had to keep manipulating the wire as I went to keep the shape. I also added an anatomical heart charm (I had this lying around because I had purchased it–from Etsy–a couple of years ago but never used it for anything.)
For the elephant, I wish that I had taken pictures along the way. I honestly was not really sure that it would turn out. For the legs, I cut narrow strips of felt and rolled them up like a cinnamon roll, then sewed the seam closed. For the body, I cut out a kind of oval/rectangle shape and stuffed it with scraps of felt (I thought this would be better than pillow stuffing because it wouldn’t be pulled out as easily should my hand sewing not be precise.) I sewed the body closed on all sides, folding the fabric to my liking. For the head, I cut two pieces of felt in the general shape of an elephants head, and then adjusted until I was satisfied. I stuffed it with just a little piece of felt to give it dimension. The ears are flat and so is the tail. I looked up images of elephants so I could keep the right proportions for all the body parts.
****************************
The following tutorial is for my 8-year old’s ornament: the book stack.
When I told my husband about my idea for a book stack ornament, I described to him a stack of little blocks of wood, with certain titles painted on the sides, as if the books were closed up and sitting on a table somewhere. I asked my husband if he could cut the wood for me. There were a couple of problems: it was too close to Christmas to accumulate the wood and cut it and then sand it down and paint. We kept thinking. My husband made a comment, wondering if I could bind a book for our son. That comment brought this ornament to life. While I made it, I took photos. Here I am to share this process with you.

Materials:
- Scrapbook paper or Cardstock
- White paper (printer paper is probably a little too thin for this, but it may work if you’re careful with it. Cardstock is likely too thick for the inside pages. I had some in between paper that I tore out of a sketchbook.)
- Scissors
- Paper Cutter/Trimmer (optional, but it will just help you keep your edges very straight)
- Needle
- Thread
- A Pen/Other Drawing or Writing Utensils (I used a black Tombow brush pen, and Prismacolor colored pencils.)
- 1 Popsicle Stick
- Tacky Glue
- Crafter’s Tape
Directions:
1.) Cut out nine 5.5cm x 4cm sheets of white paper. These will be your book pages. I made three books, each with six pages. You could use more or less depending on how big you want your books to be.


2) Cut out your book covers. You should use a thicker paper for the book covers, and they should be just slightly bigger than the book’s pages. My covers were actually colored on one side and white on the other, but I wanted them to colored on both sides. So I cut out two covers for each book and adhered them together with crafter’s tape. You could use a paper that is double-sided, or just go with a white inside cover.
When you fold the book pages in half and the book covers in half, it will look like this:

3.) This is the step where you will bind the books. If you’ve never tried to sew paper before, don’t worry! You can do this! I started by threading my needle and then doubling the thread over, tying it to itself at the end so that it would not become unthreaded in the process of binding these books.
I poked a hole on the inside of the book cover, near the top, but behind the pages. It was a little difficult to push the needle through, but with some gentle finger strength, it did! Then I sewed through all of the pages and the cover, and tied a knot. Then I continued sewing down the fold until I was satisfied by the structure of the books. I went down and then back up, so that I could tie my thread where I had left a little bit of extra thread at the top.

4.) Decorate your book covers. You may decorate the inside pages, too, if you’d like.
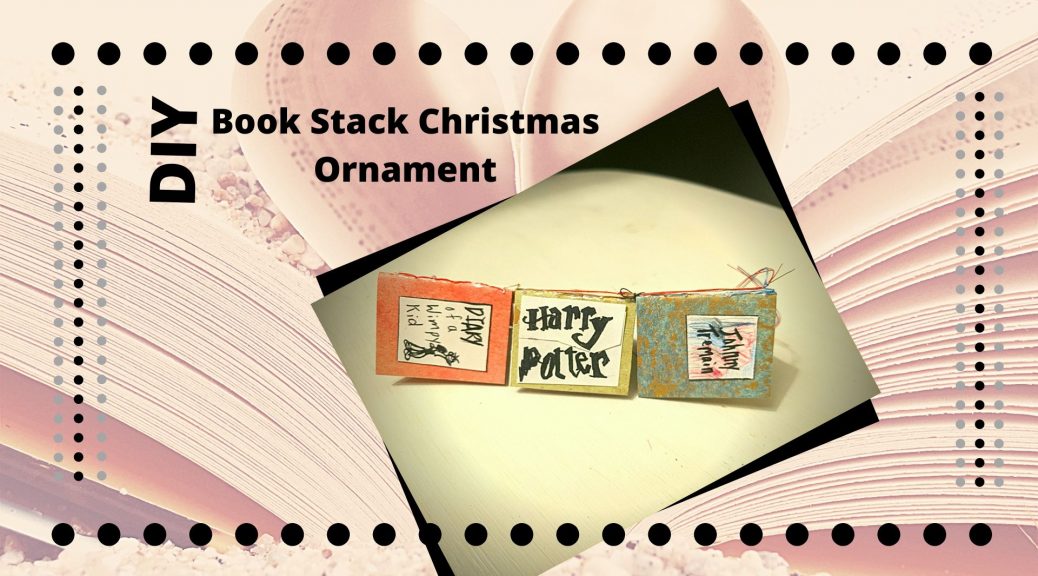
I chose to make three books: Johnny Tremain, Harry Potter, and Diary of a Wimpy Kid because these are three books that my 8-year old has read this year. He’s read multiple Diary of a Wimpy Kid books, and he’s read all of the Harry Potter books and he loves them all. He’s reading Johnny Tremain for homeschool, and he has told me that he likes it. It’s a special book because he reads one chapter and then brings it to me to tell me what he’s read. This is a beautiful time that I get to spend with him, listening attentively. I write down what he tells me, and I’m going to type it all up for him once he’s read the whole book.
Inside each book, I wrote a few things about why he’s reading these books (such as, his cousin was reading Diary of a Wimpy Kid and told my son about it.) In the Harry Potter book, I drew a lightening bolt on one page and Harry Potter’s circle glasses on another. In the Johnny Tremain book I wrote how he reads a chapter a day and narrates it to me.

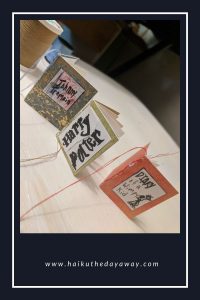
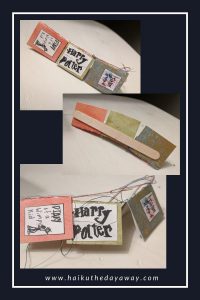
5.) I wanted these books to hang vertically, so I basically made a big mess trying to tie them to each other. They were still very floppy, so I glued a popsicle stick to the back. I used tacky glue, but Elmer’s would likely work as well, or even glue dots or almost any glue that is good for paper. I tied a loop at the top of Johnny Tremain with the excess string, but I will attach an ornament hook to actually hang it on the tree. I left the strings on mine, but you could cut yours off. I kind of liked the strings because I thought they looked like bookmarks.

I hope you enjoyed this tutorial and the little story about our ornament tradition. Creativity is such a process but absolutely rewarding when something turns out right!
Let me know if you have questions or if you try this at home!